
SlimeVR Software
The images and order on this page follow the original WPS tutorial. For first-time use, we recommend completing a 6-point setup first, then adding points once you are familiar with wearing, assignment and calibration.
Download & Install
Get the software from the official SlimeVR website. Before installing, we recommend closing SteamVR, VRChat and other software that may use related components.
Download issues
You can join the NekoNya Slime Tracker after-sales QQ group to get a verified offline installer. Do not use firmware or installers from unknown sources.
First Launch & Language
On the first launch of SlimeVR, open the language menu at the bottom right of the welcome screen.
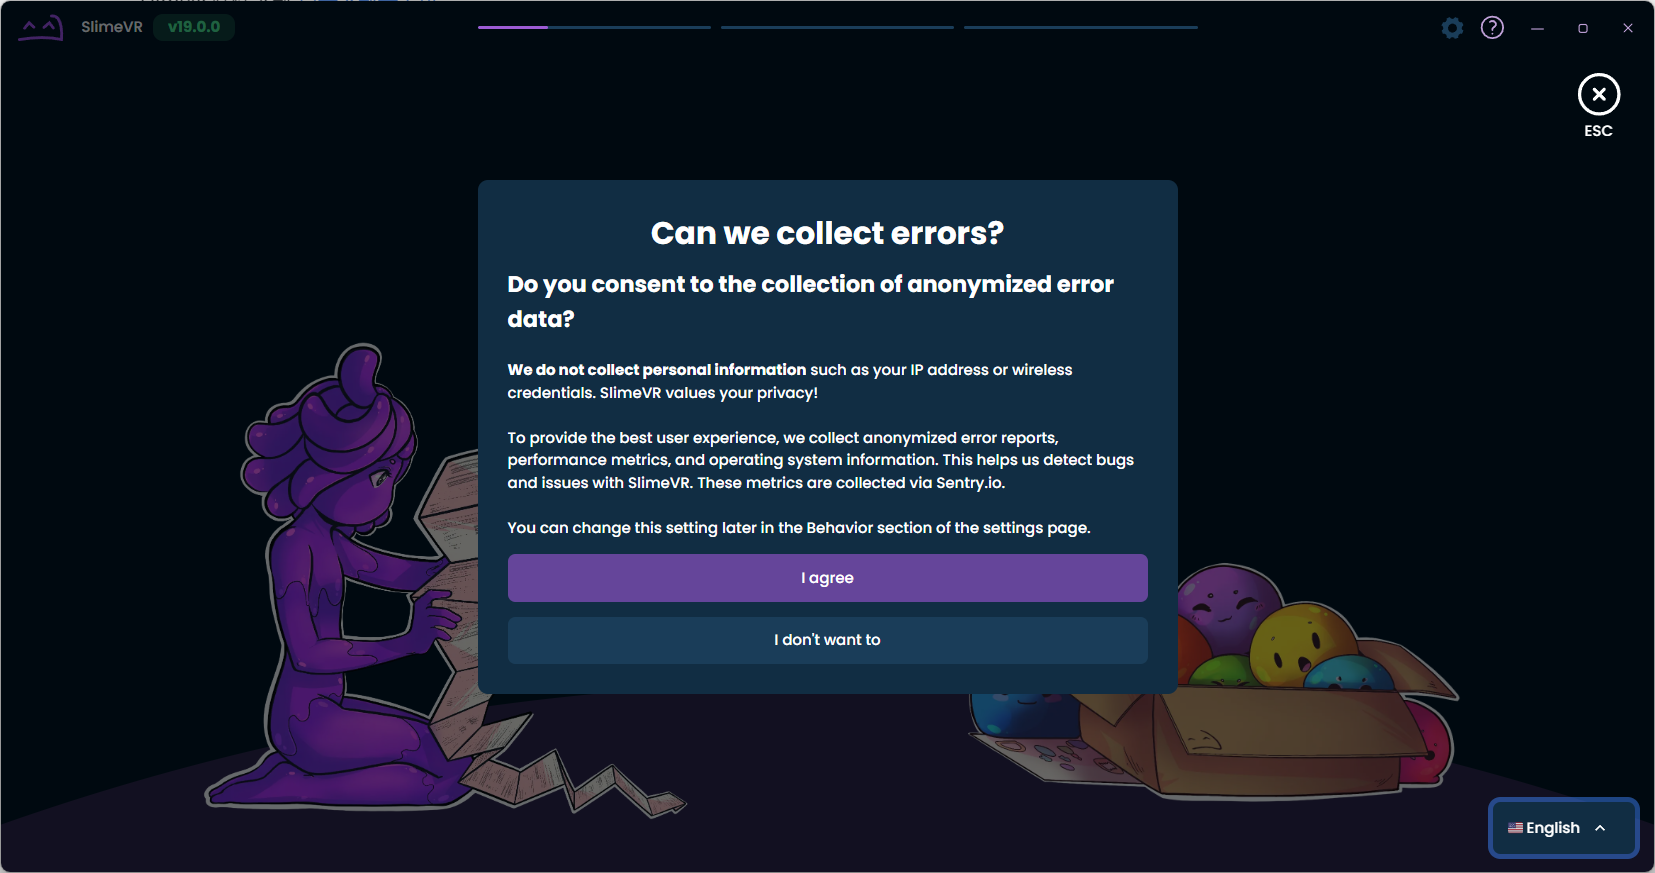
The welcome screen when SlimeVR opens for the first time. 
Open the language menu at the bottom right. Choose your language, then click "I agree".

Choose your language. 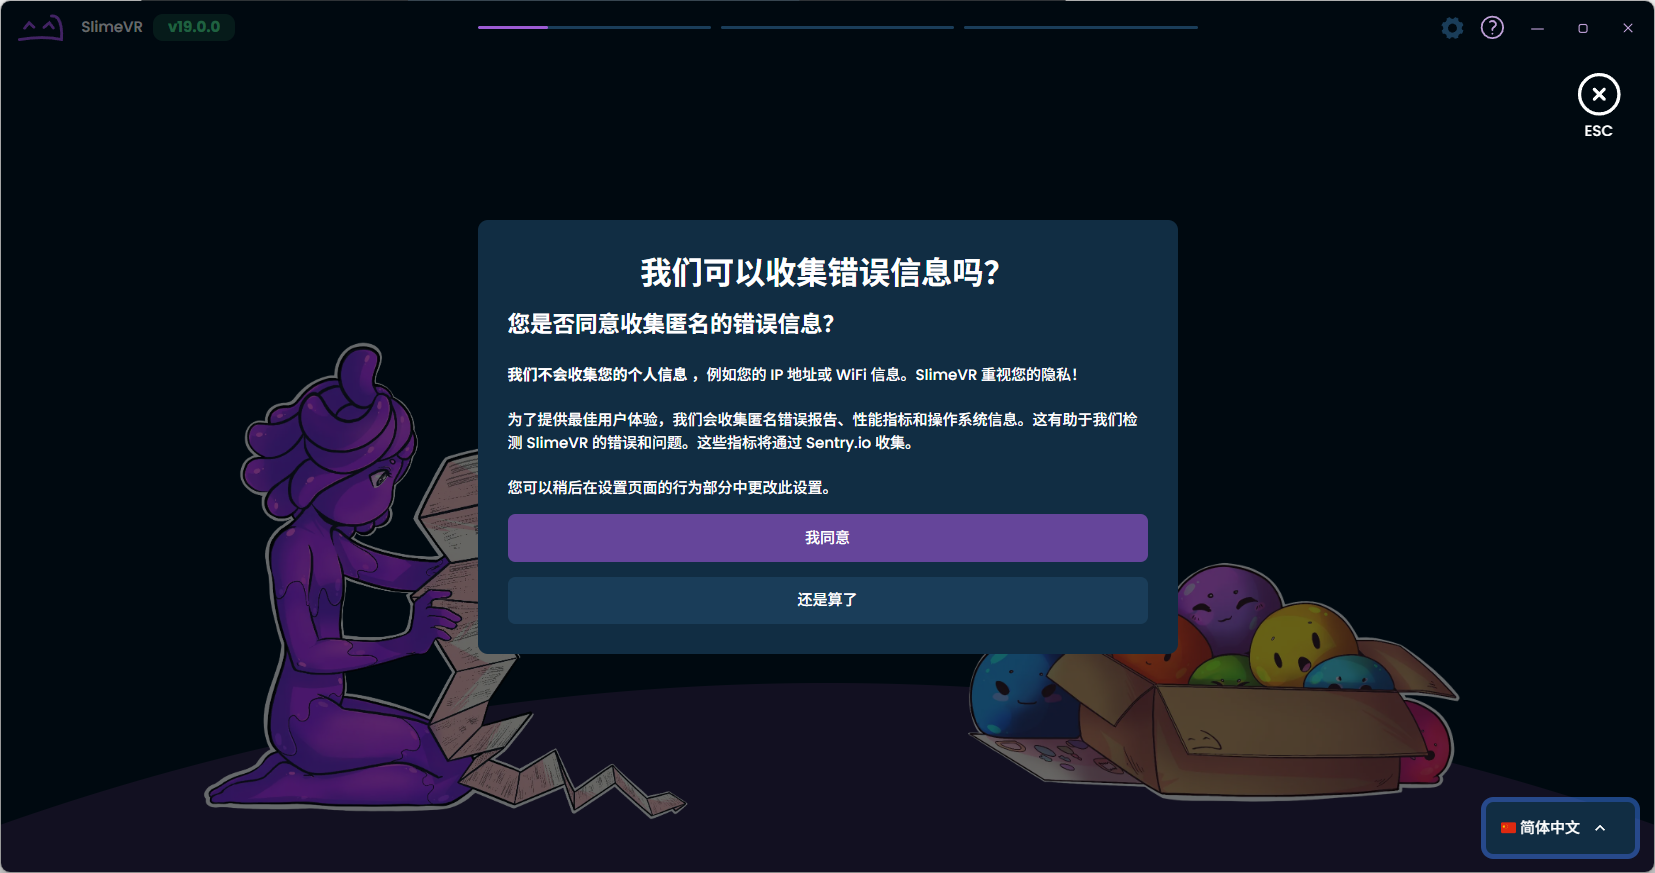
Confirm and continue. Click "I'm ready". After connecting the 2.4G receiver, you can press
ESCat the top right to skip unfinished wizard steps.
Click "I'm ready". 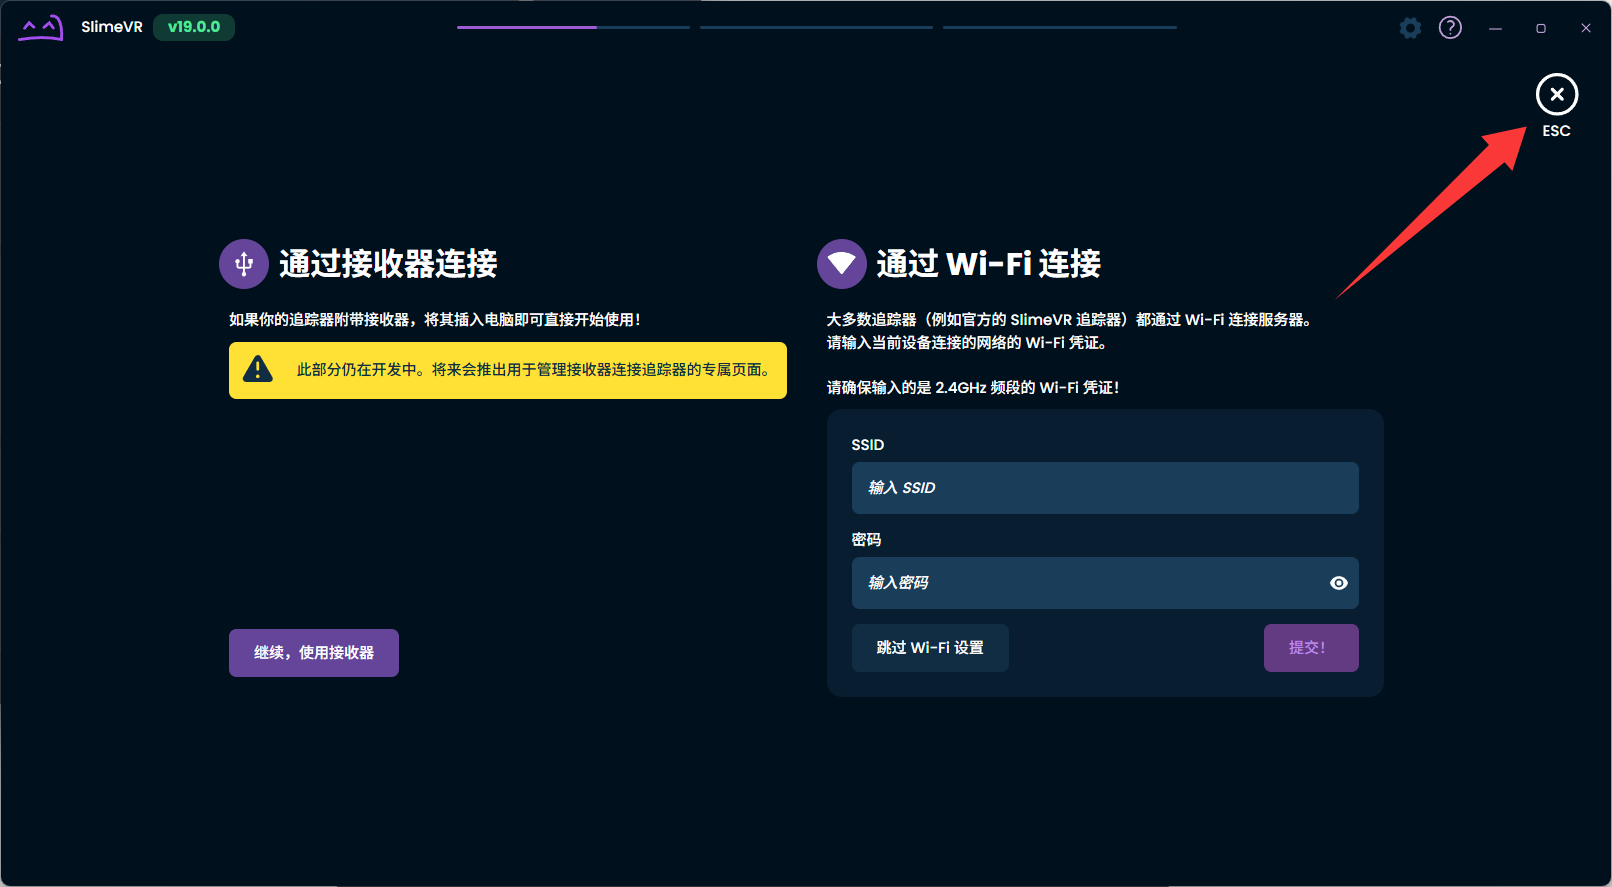
After connecting the receiver, you can skip with ESC.
Power On & Detect Trackers
Place the trackers into the charging dock one by one and press the dock
SW0button once to power them on in batch.Back in SlimeVR, you should normally see unassigned trackers.
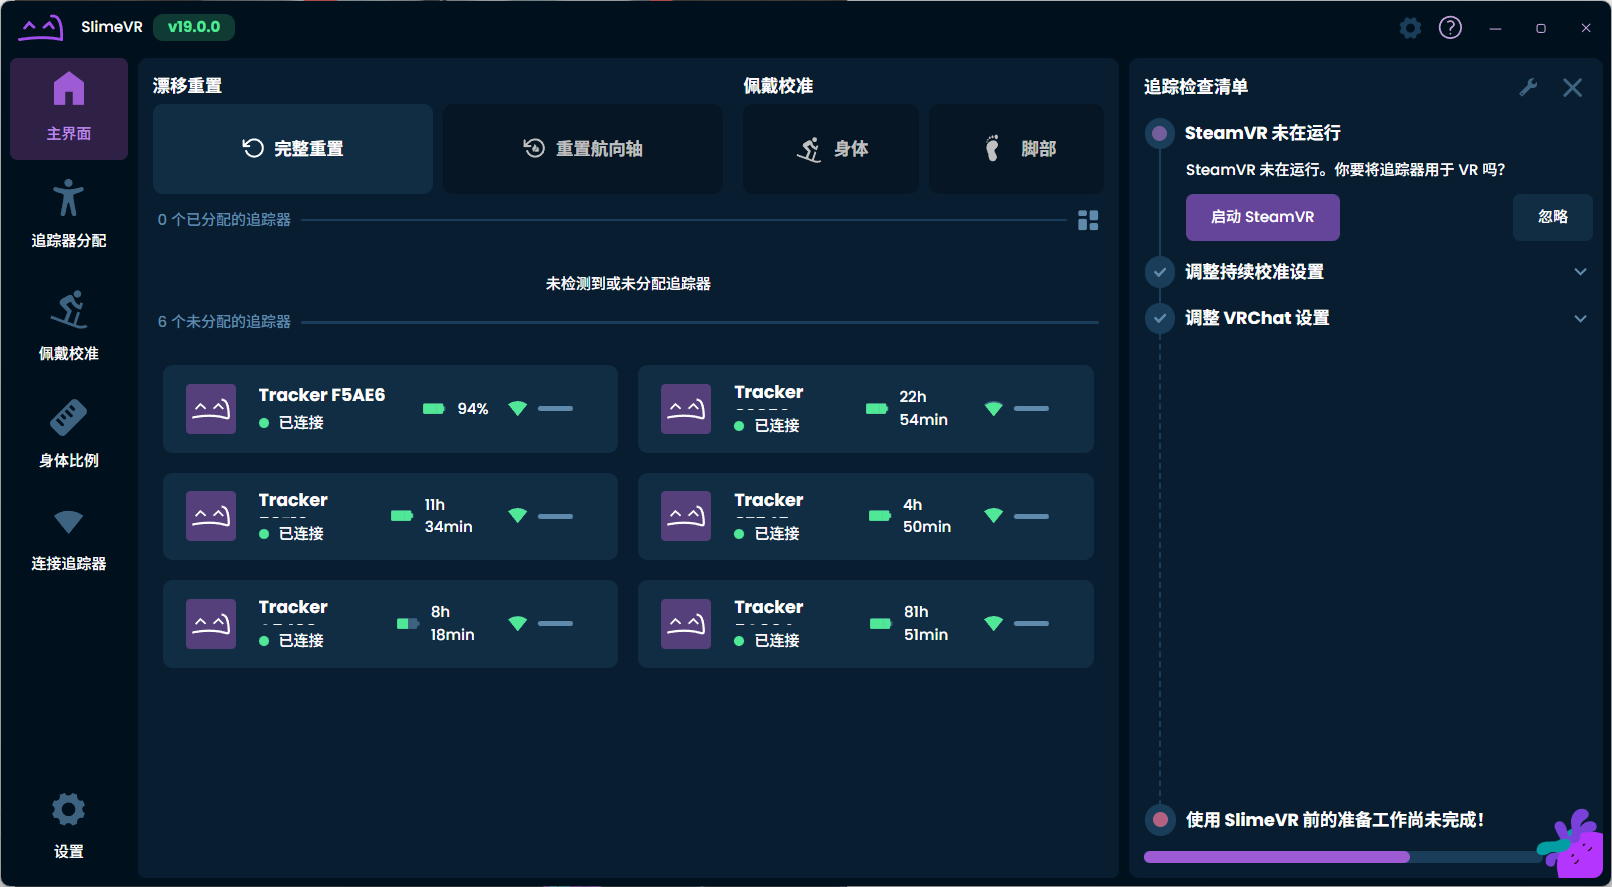
Unassigned trackers appear after skipping the wizard. If no devices appear, first confirm the receiver, antenna, tracker battery and power state, then see Troubleshooting.
Assigning Trackers
In the tracker assignment screen, choose the number of points you purchased; for 6 points, we recommend enabling mirror display.
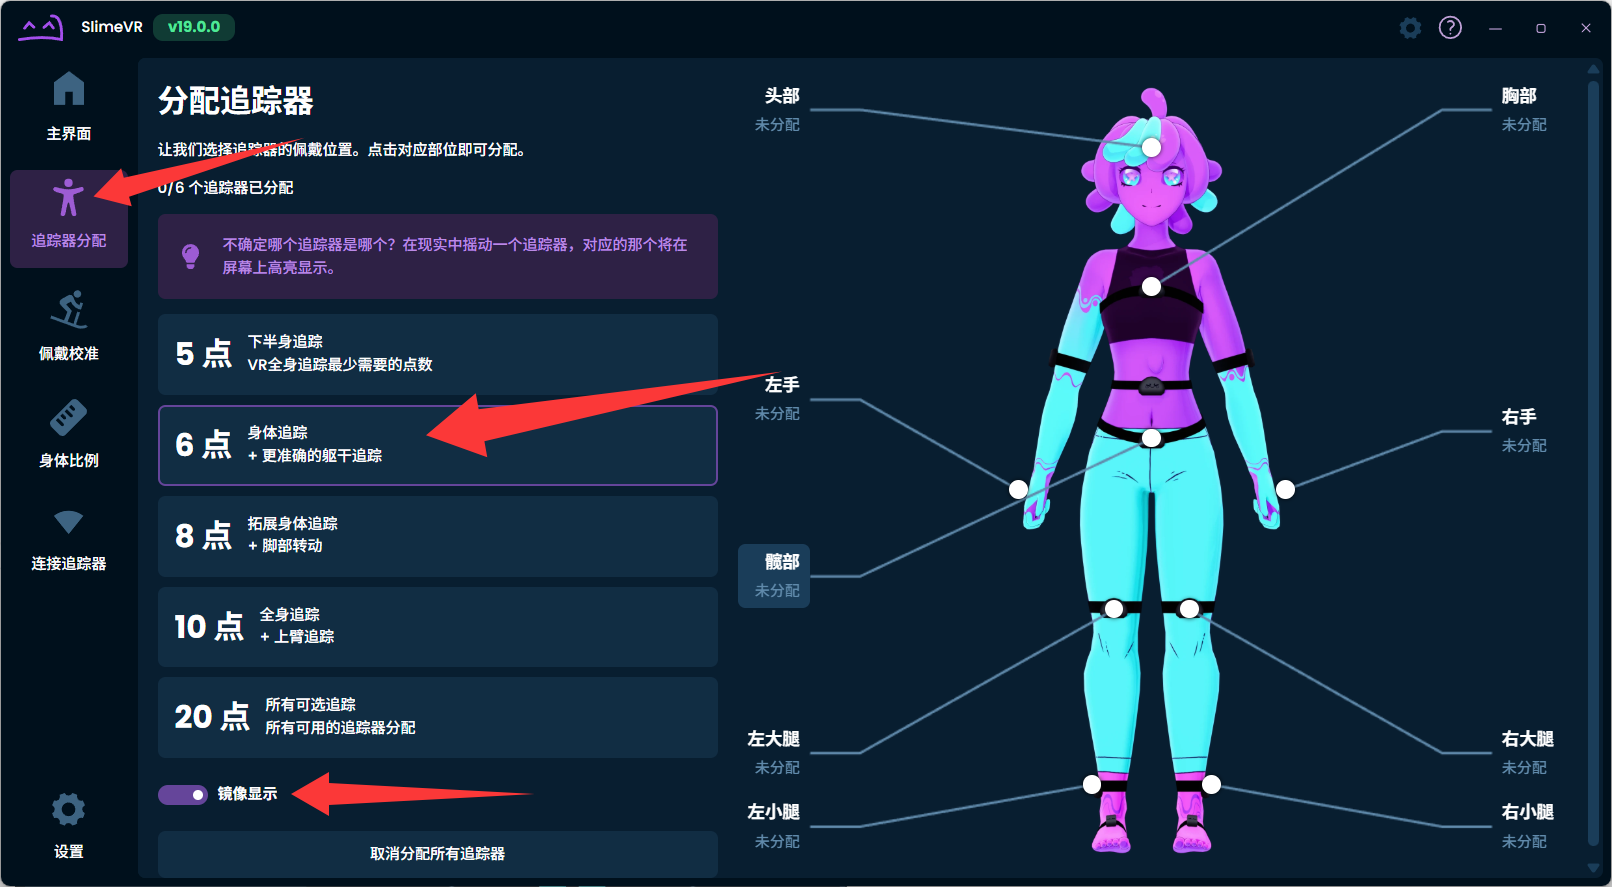
Open tracker assignment and choose the number of points. When switching from the default 5 points to 6, a hip point appears on the skeleton.
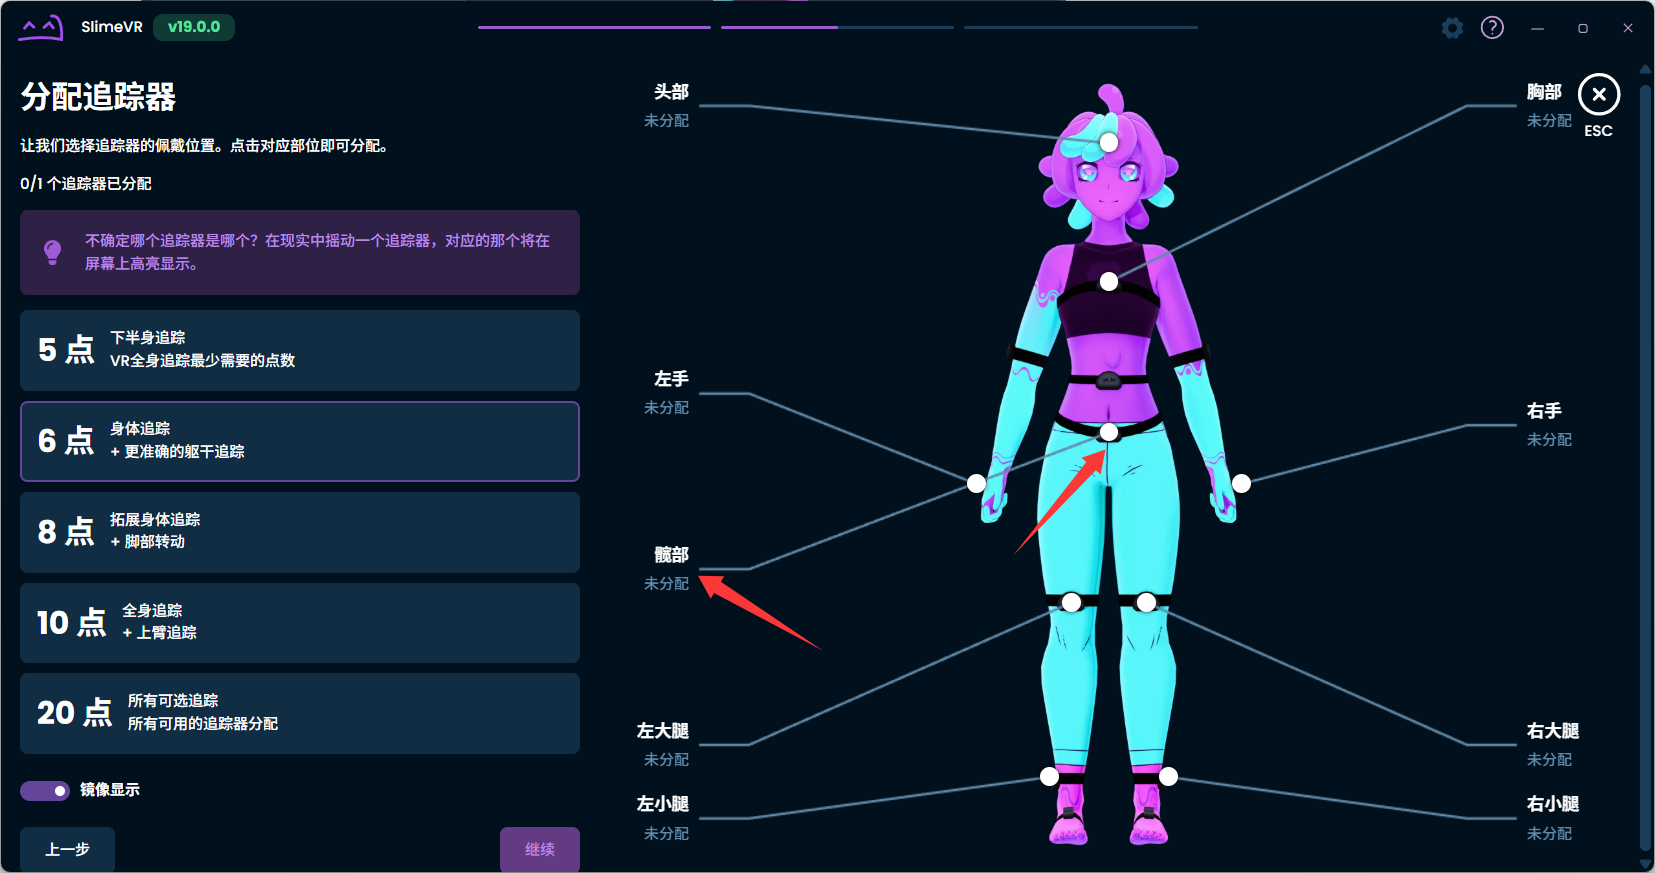
The six-point setup adds a hip point. Click a white dot on the skeleton or a body-part name, then pick the device from the connected tracker list.

Click the hip point to select a device. If you are unsure which device is which, gently shake it; the corresponding device shows a purple glow. You can also lightly tap the device twice as prompted.

Device state before shaking. 
A purple glow appears when a device is shaken. Do not assign trackers to the head, left hand or right hand — those positions are handled by the headset and controllers.
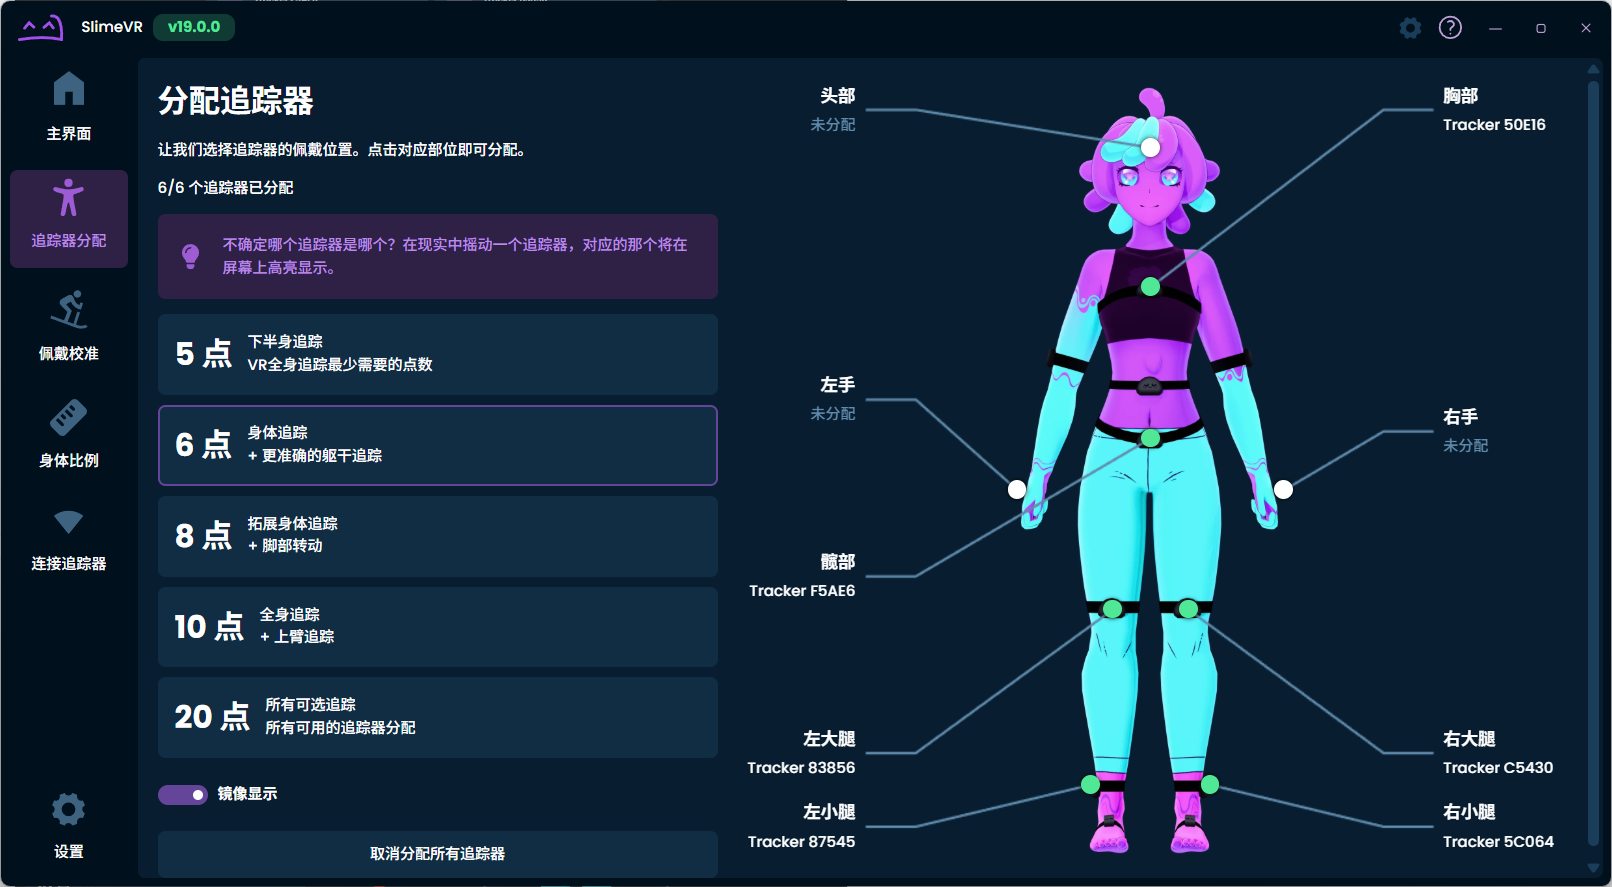
Verify all positions after assigning. 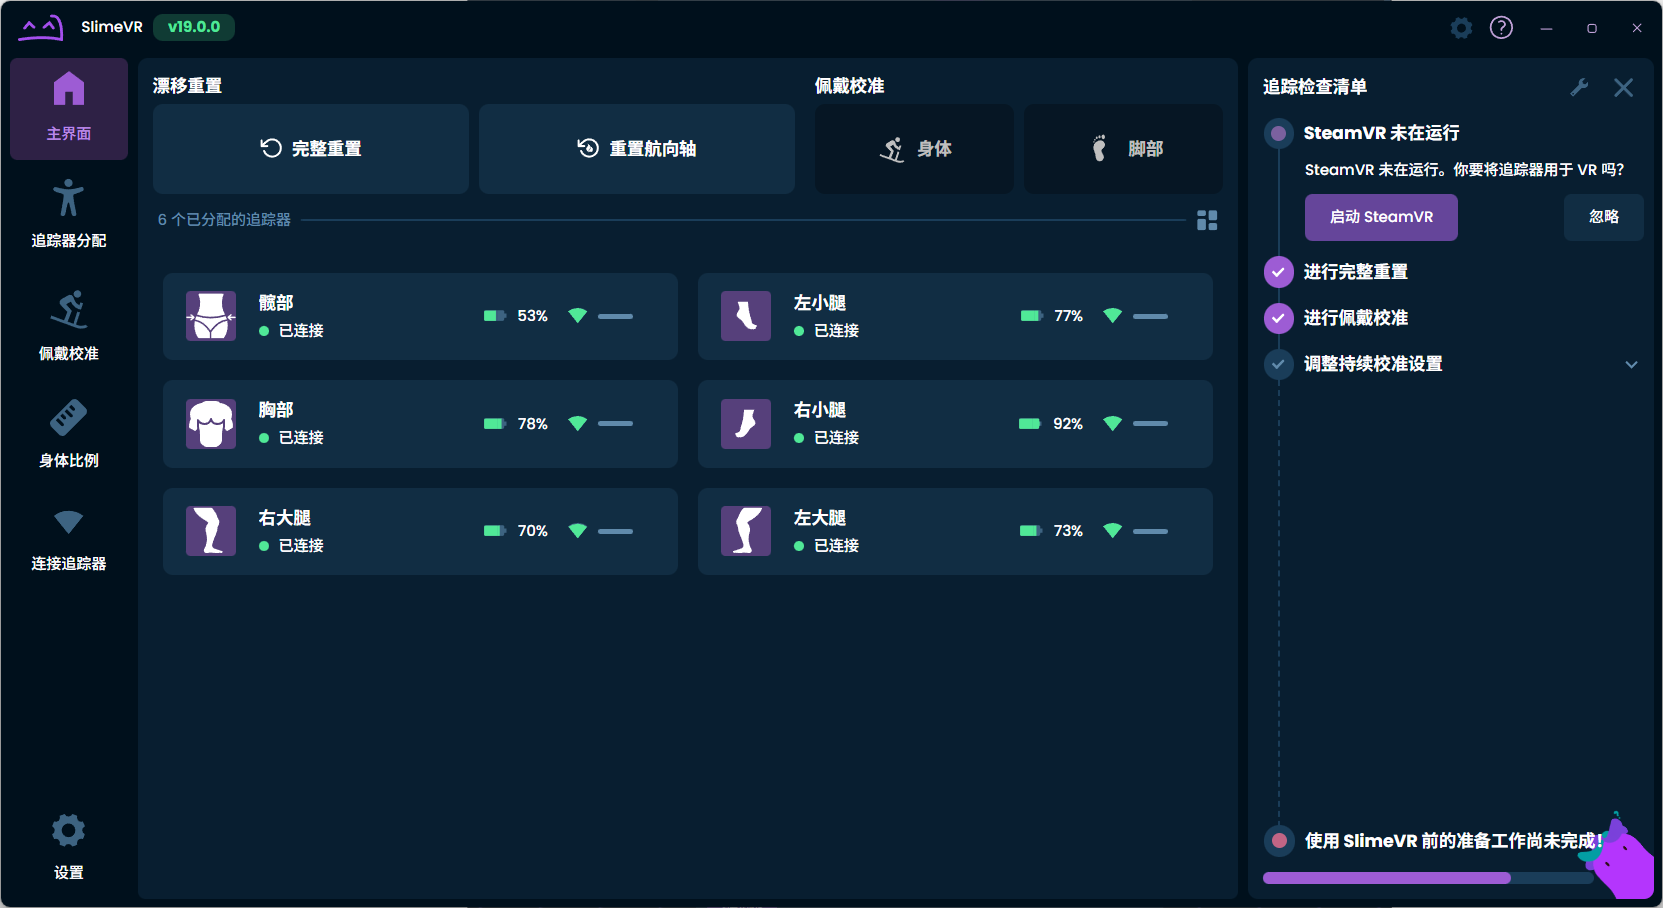
Continue with the software settings after assigning.
Recommended Software Settings
Click "Settings" at the bottom left and scroll to the bottom of the SlimeVR settings page.
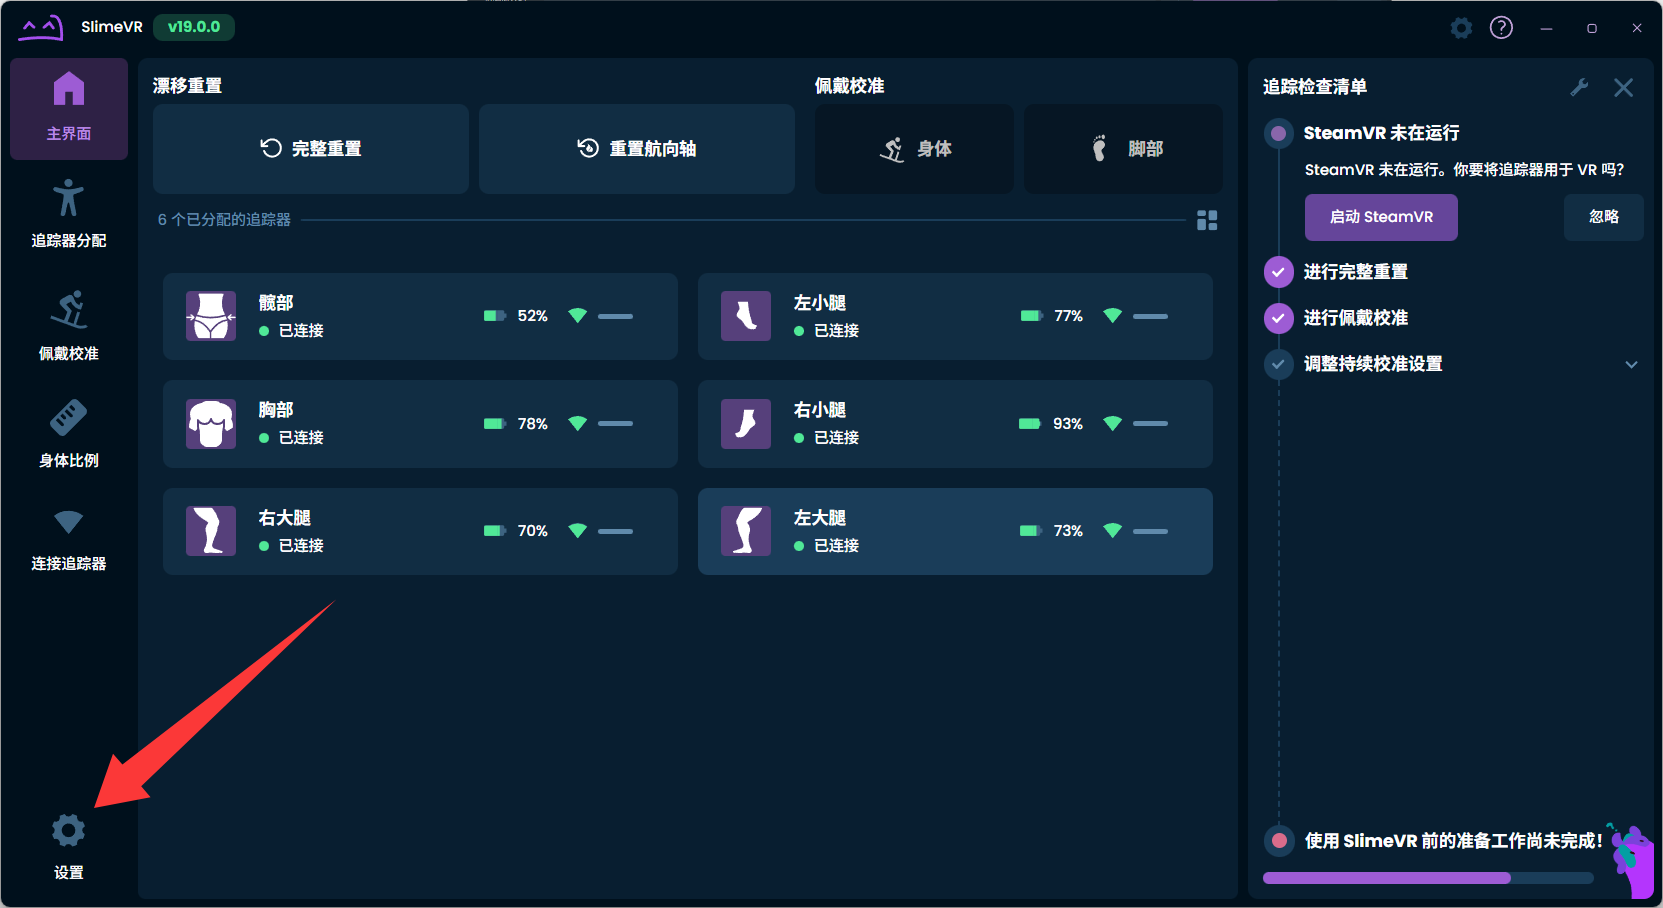
Enter settings from the bottom left. 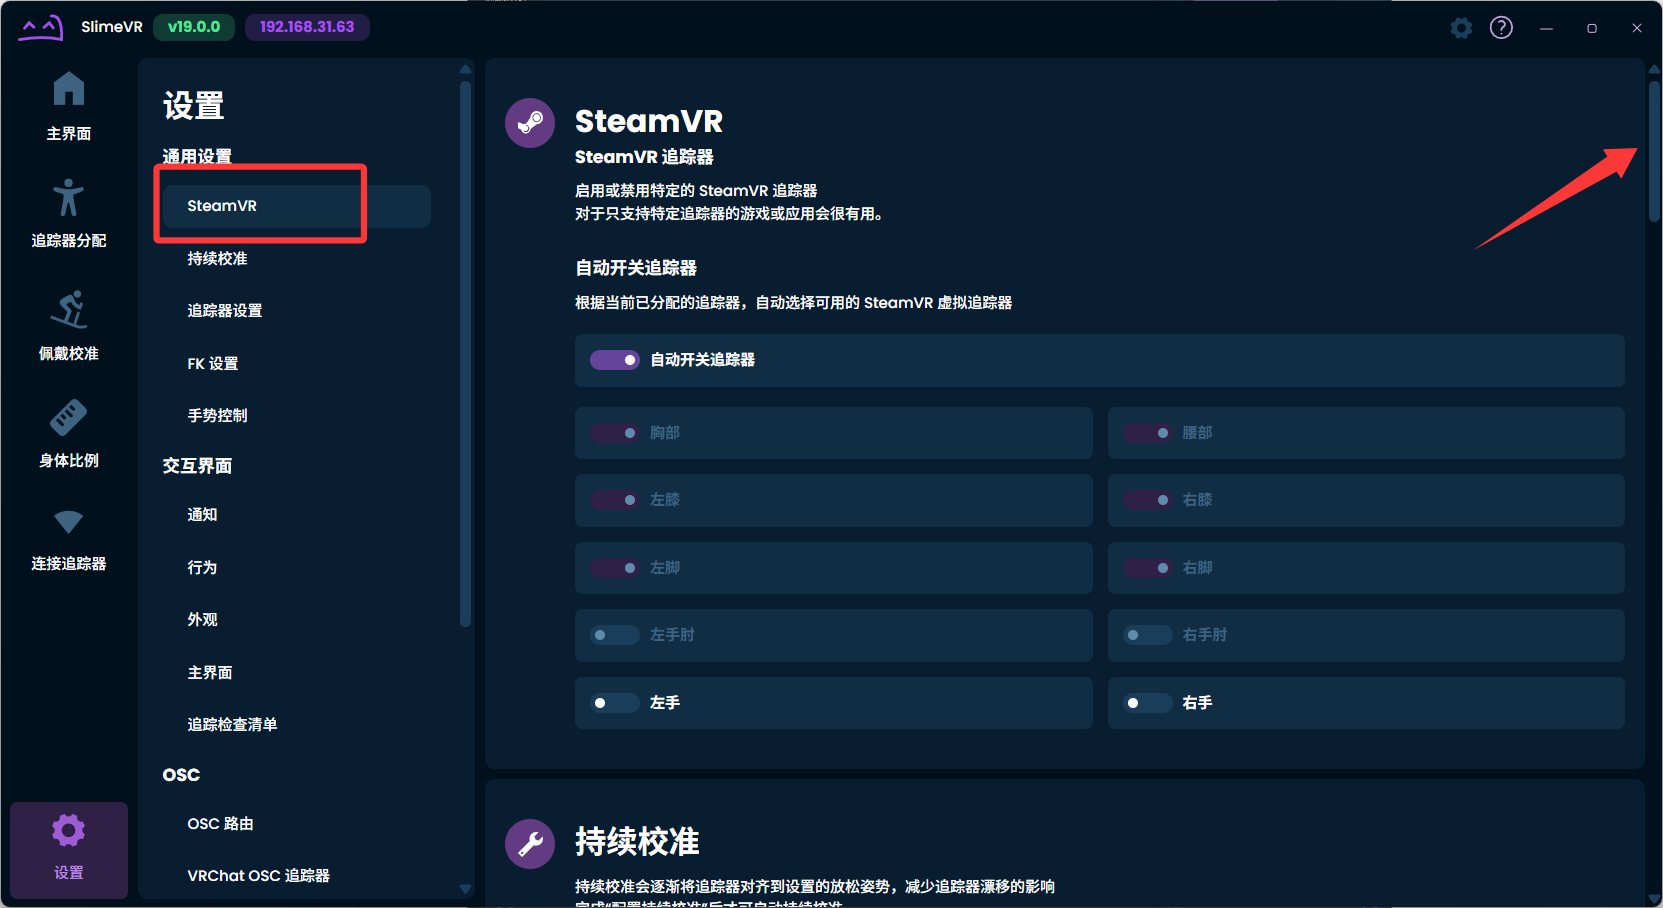
Enter SlimeVR settings and scroll to the bottom. Turn off "Tap to reset yaw".
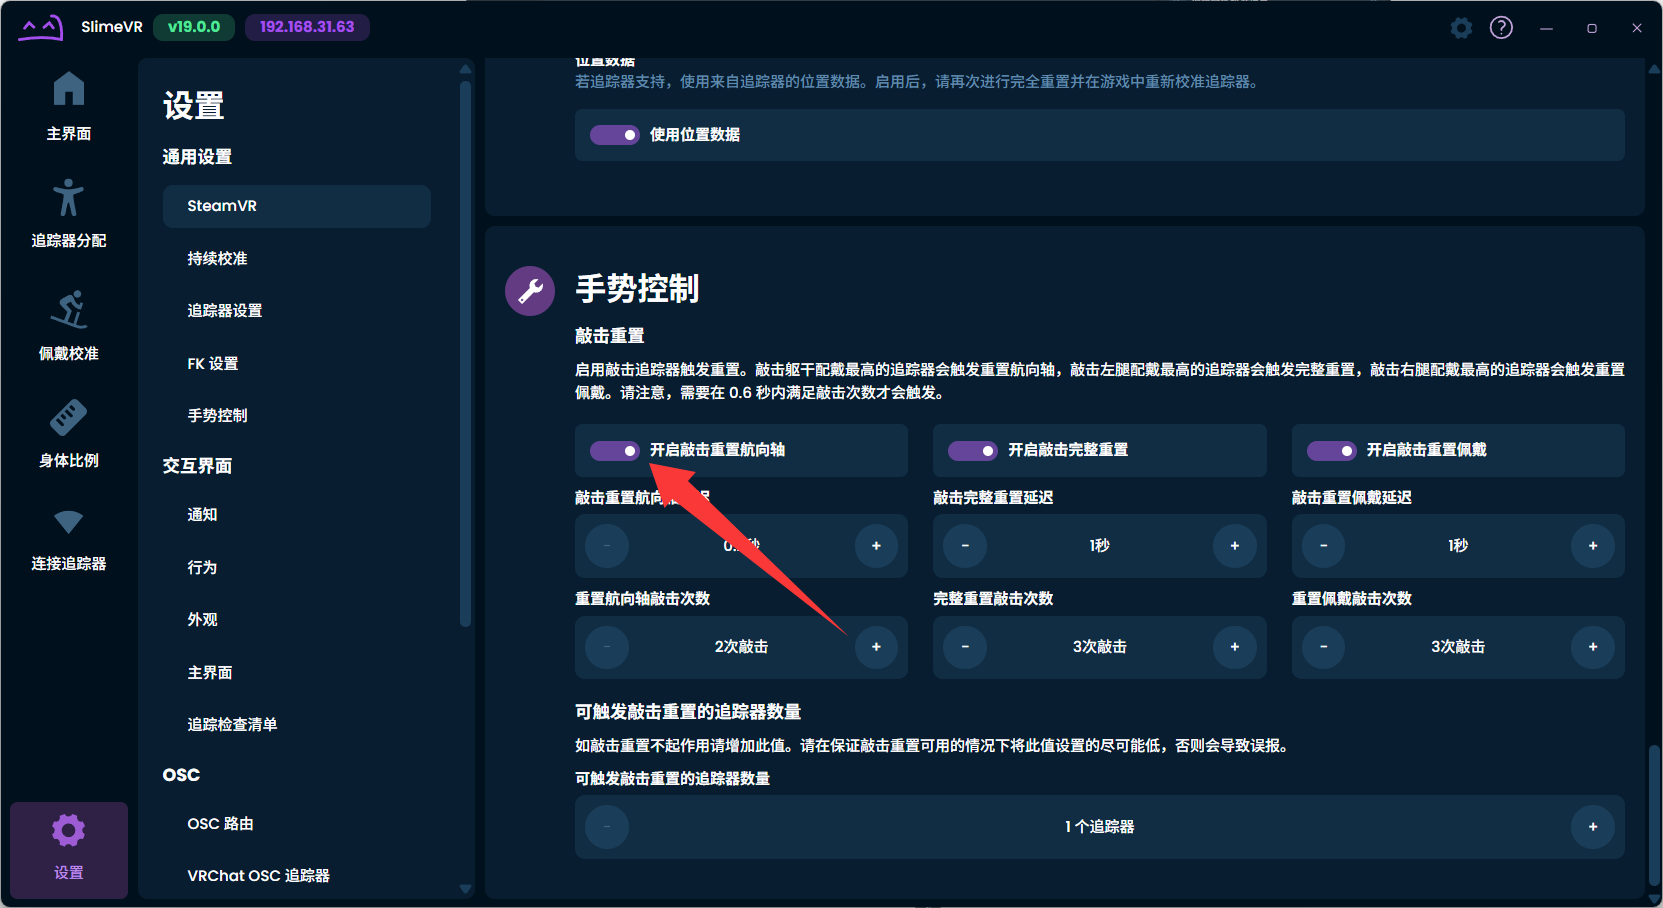
Turn off tap to reset yaw. Go to "Tracker settings", change the prediction to Smooth, and start with a filter strength around 40% to 50%.
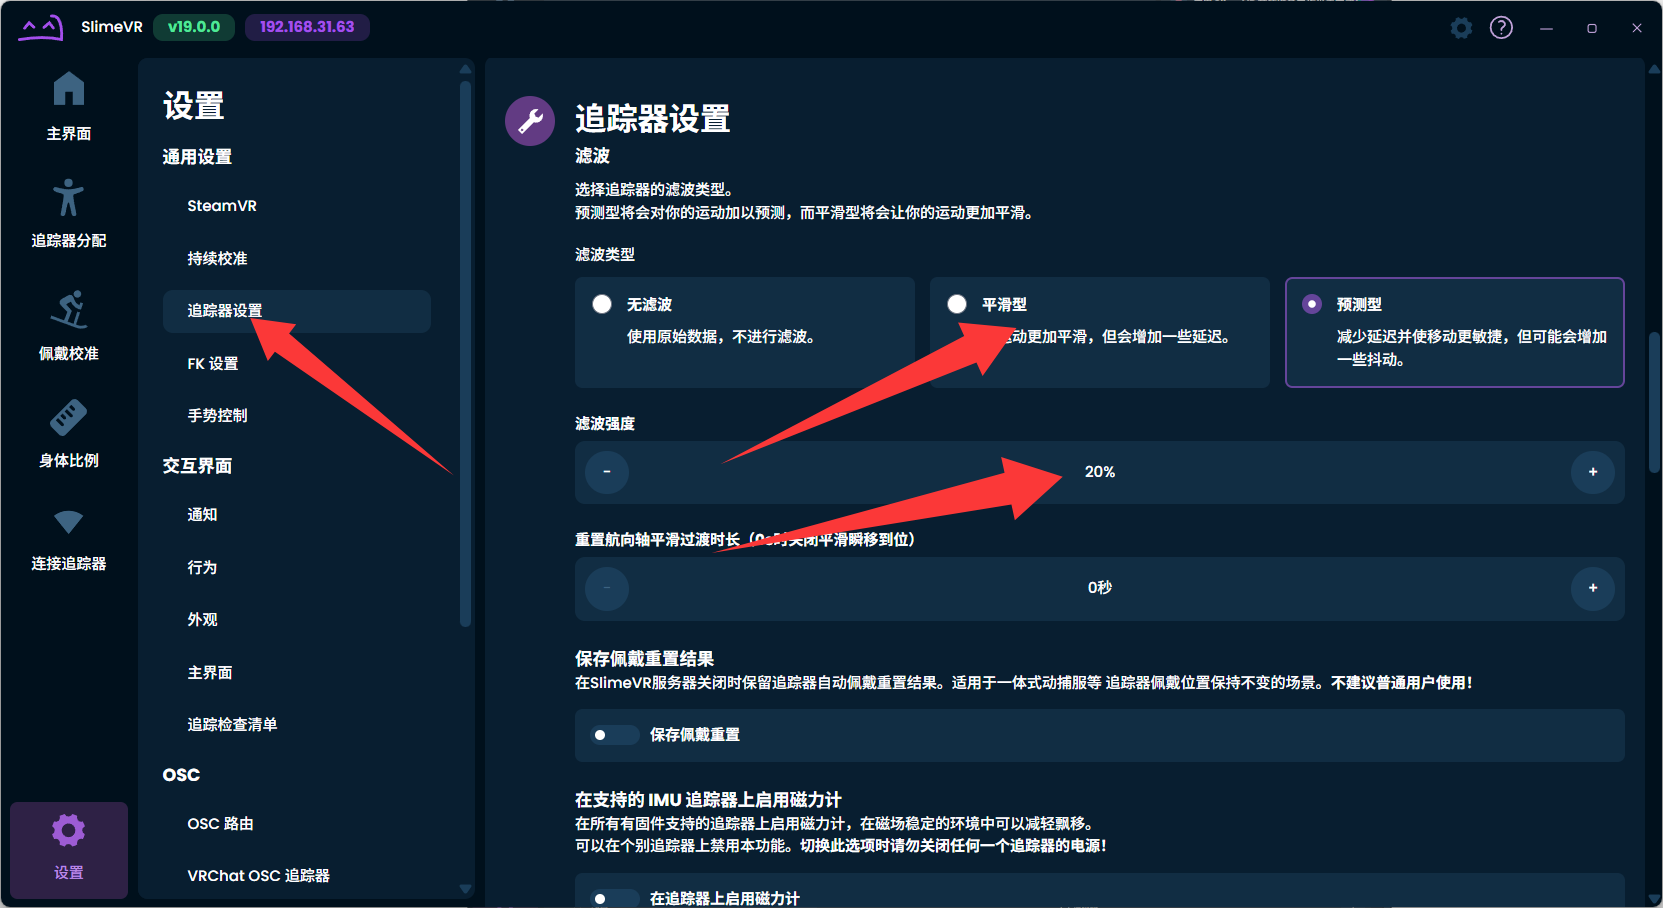
Open tracker settings. 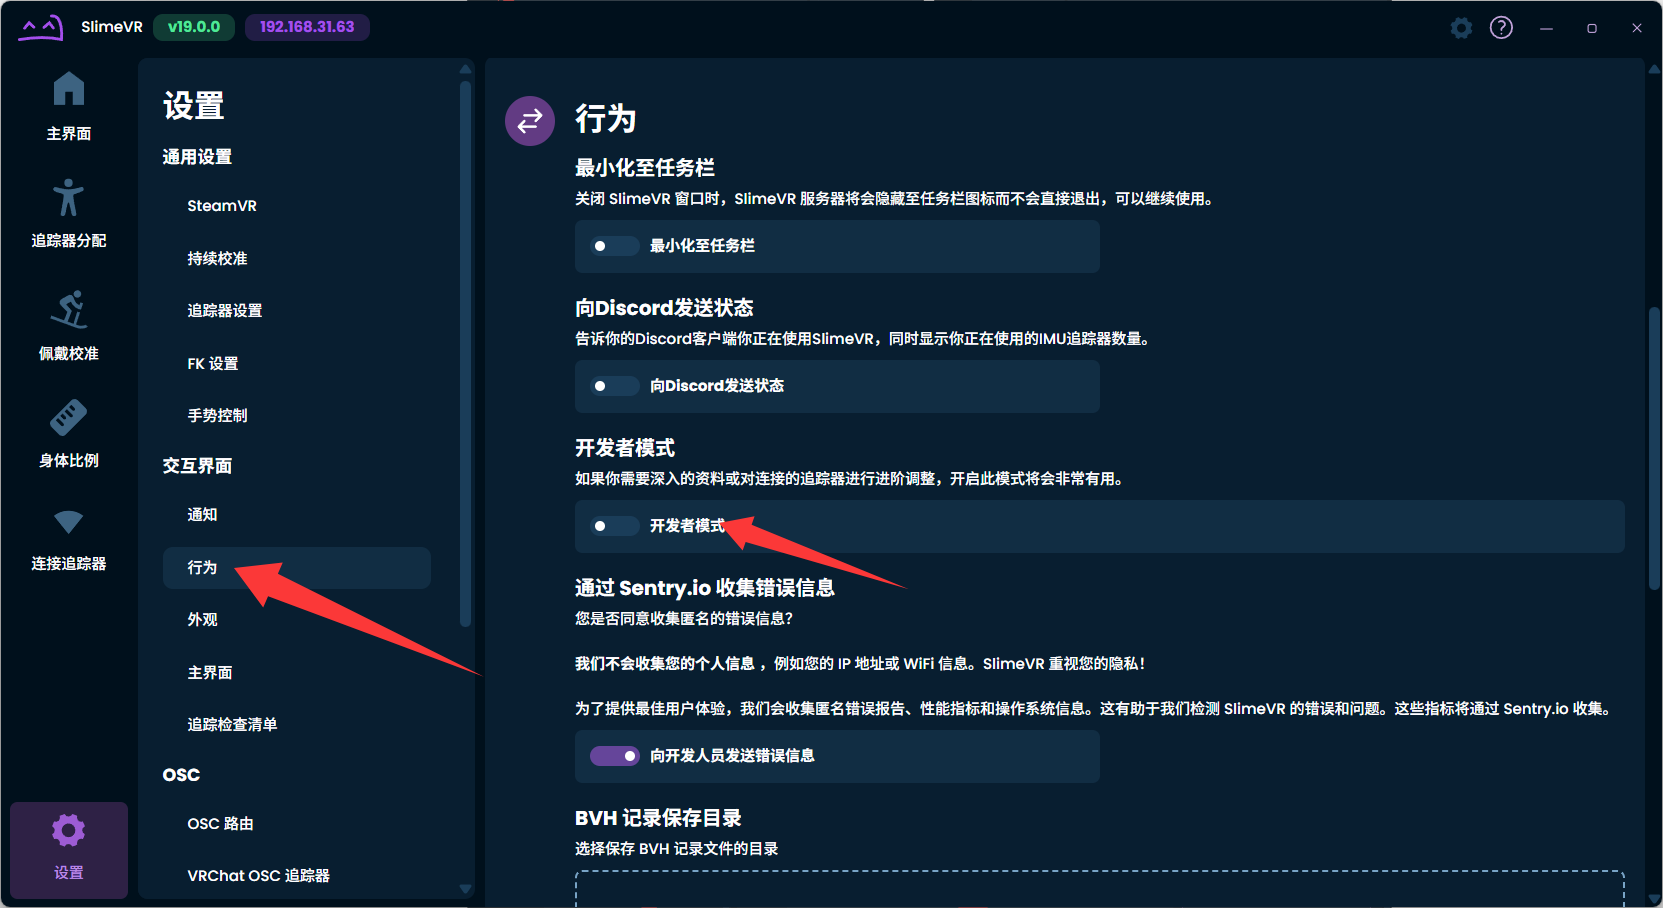
Set smooth prediction and filter strength. Go to "Behavior", enable developer mode and "show more info".
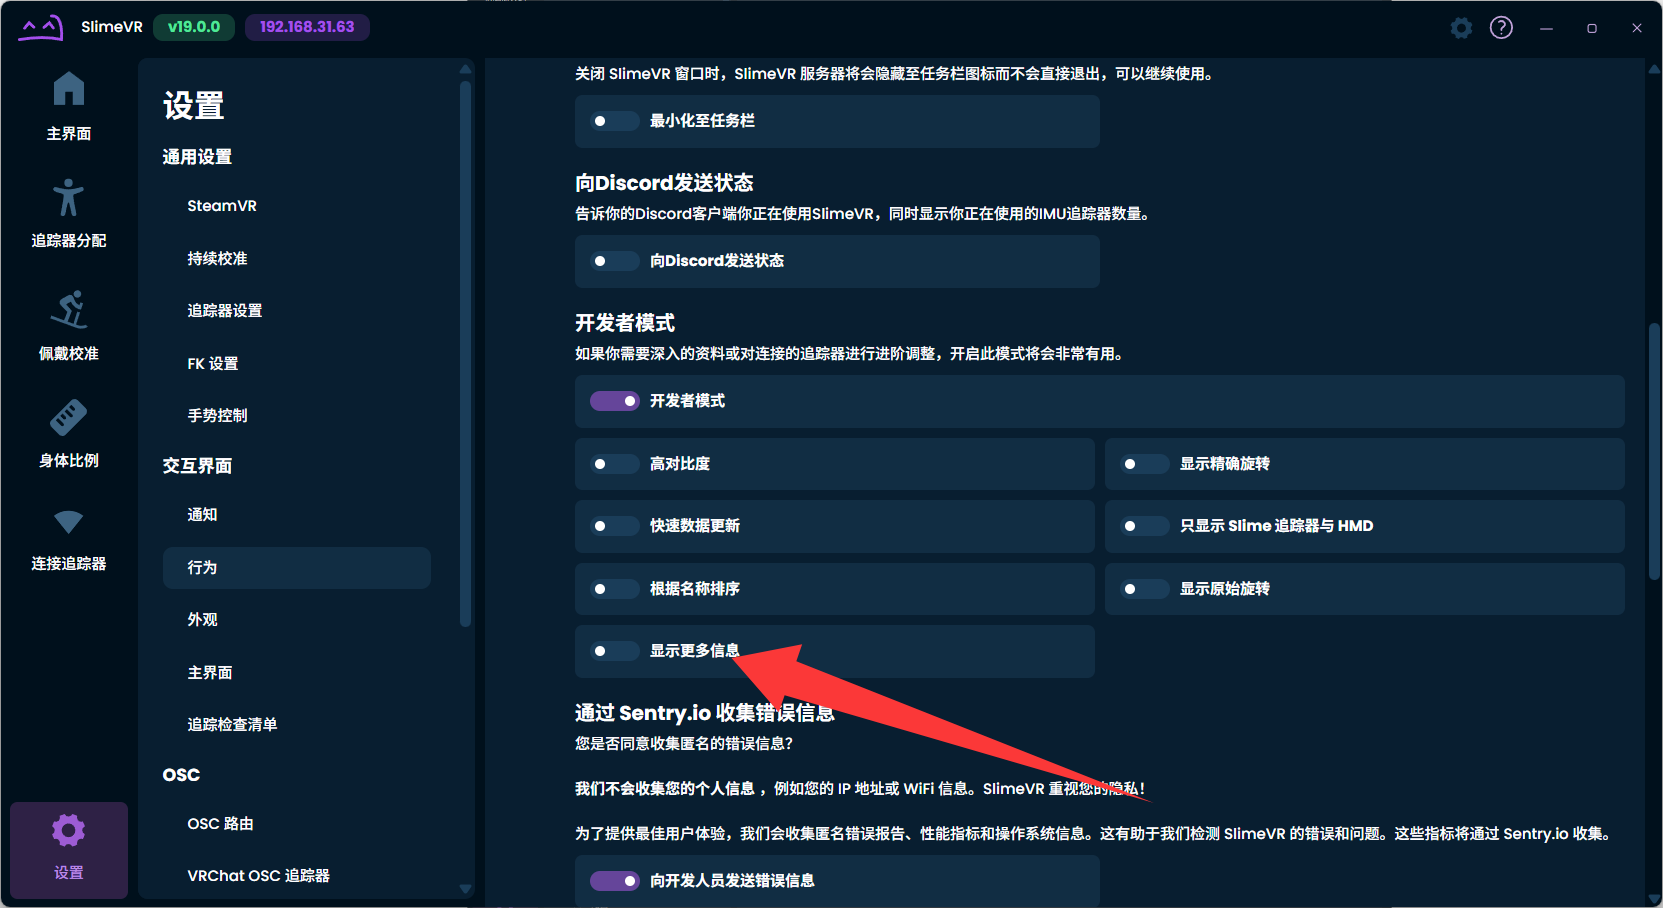
Enter behavior settings. 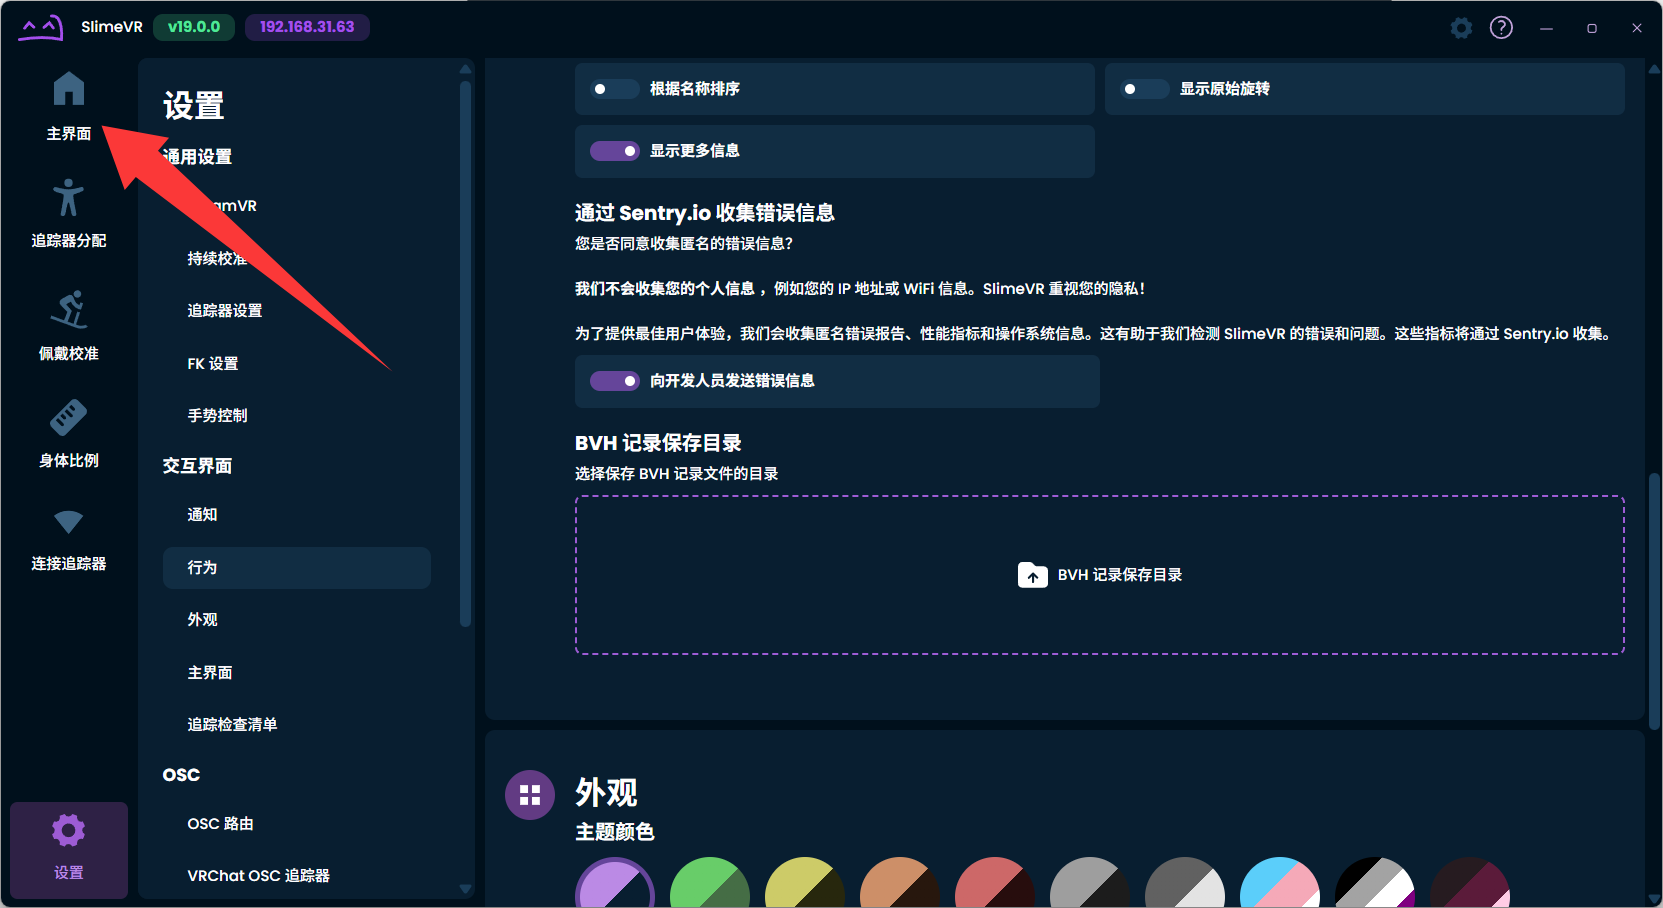
Enable developer mode and more info. Return to the main screen and switch to the list view to see battery, version and connection state.
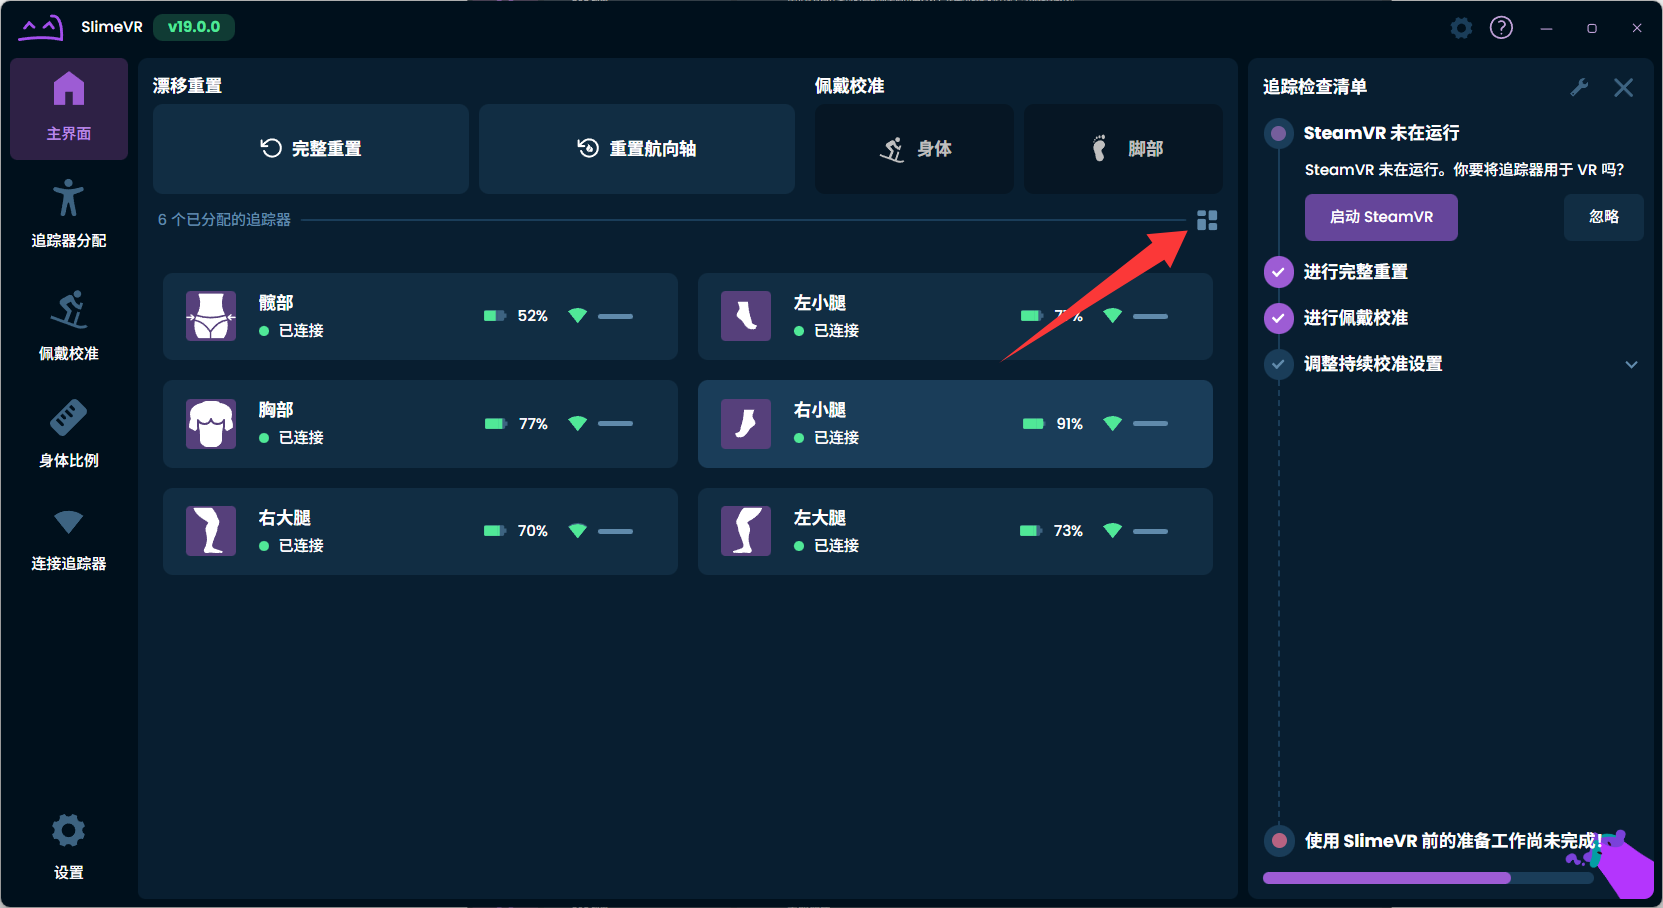
Return to the main screen. 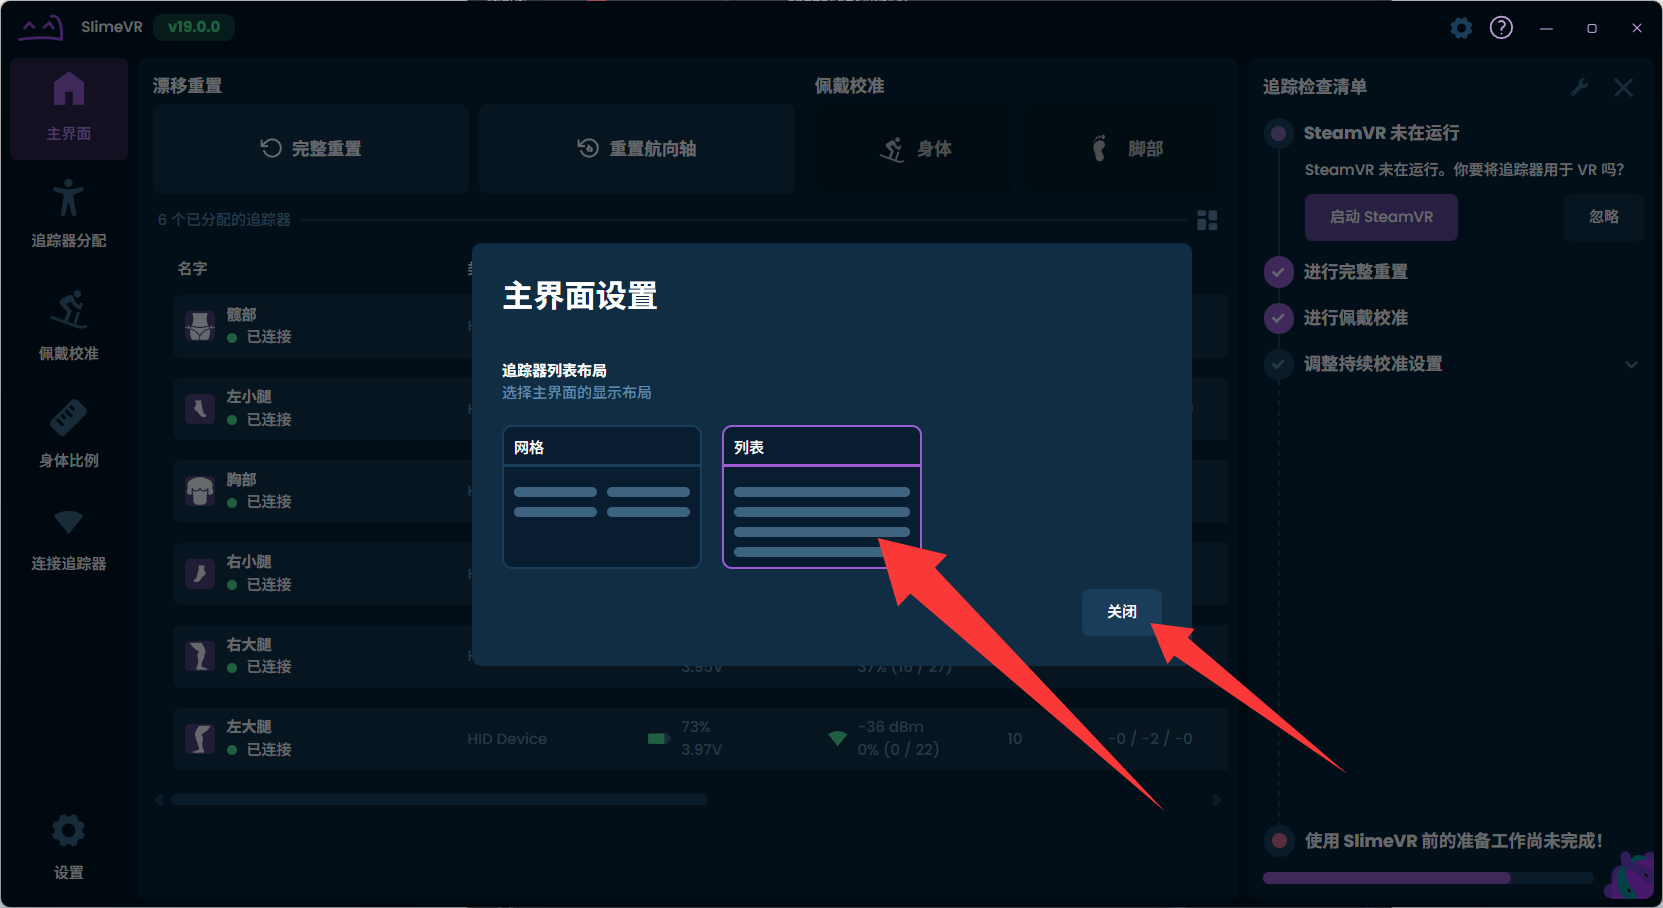
Switch to list view. 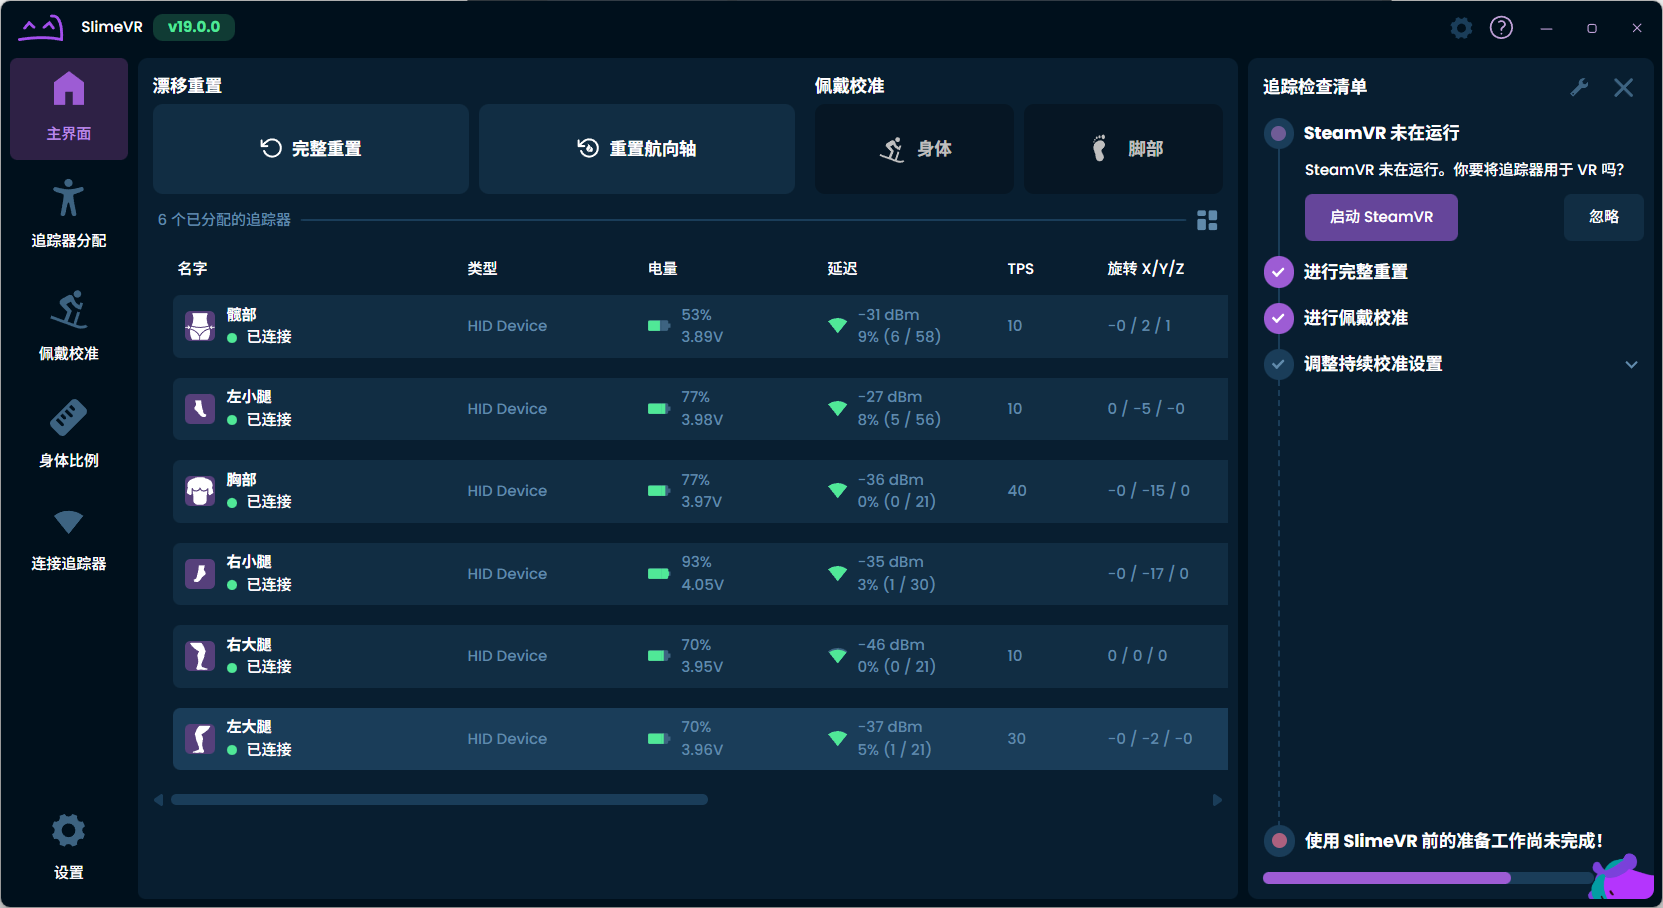
Detailed device info after setup.
Before Each Use
Confirm the trackers are sufficiently charged, the area around the receiver is clear, and the devices are assigned to the correct positions. After re-wearing, run a full reset and wearing calibration — see Device Calibration.
Success State
Normal: the software shows the expected number of trackers, and the trackers in the interface move in sync with your body.
Needs checking: devices show as connected but do not move, the count is incomplete, orientation is reversed, or drift is obvious soon after.